Showing posts with label hand-built. Show all posts

Wednesday, August 31, 2011

Twisty Vase Revisited


I saw some friends in Washington not too long ago who are posted overseas. One of them was nice enough to ask if she could have a "twisty vase," so I set about trying to make another one. The first was an absolute disaster. I cut it slightly too small for the cylinder I was using as a mold, so my friend helped me push it together, since the clay was extra thick due to a suggestion by my hand-building teacher (though I didn't want it thicker, I find it hard to disagree with someone who has decades of experience). To prep the cylinder so that clay wouldn't stick, I had wrapped it in newspaper. Well, we didn't notice that as we pushed the edges together, we wedged newspaper in the seam. When I tried to carefully pull it apart to try again, the whole thing collapsed, helping me to realize I hadn't dried the slab long enough.

So, next time, I rolled the slab to my preferred thickness and let it dry until I thought it was stronger. This time, I tried twisting right away, without reinforcing the seam. Bad idea. The whole thing came apart and because it was more dry than previously, it didn't want to be stuck together again. Again, the whole thing came apart and I threw it away.

Third time is, indeed a charm. I rolled the slab to my preferred thickness. I dried it until I could test it's willingness to stand by bending up a corner and seeing if it would stay. I cut it to the right size, and properly beveled the edges this time so that they overlapped well. I took the mold out and reinforced the seam with coils, and reinforced the bottom with coils also. Then, I put the mold back in the vase in order to twist it. It came apart several times, but a little at a time, and I had enough reinforcements that I could pull more clay over the cracks. I then worked more clay over the seam with a scraper and slip.

twisty vase

twisty vase

However, this time the bottom twisted too. I don't remember if I didn't add the bottom until after twisting. That seems unlikely, because it would be harder to attach after twisting, but I could have done it. One of my friends, whose work is amazing, said she liked the twisty bottom, so I decided to keep it.

twisty vase bottom

It is under plastic, drying slowly. We'll see if this one cracks as it dries. Twisty vases are harder than I think they're going to be every time.

Saturday, August 27, 2011

Flower Plates


I decided to attempt to make hand-built plates using a mold. I can throw plates, and I'll try to take pictures and post the two that I've thrown so far too, but they are a little heavy and I'm not quite happy with that for everyday use. So, I took the first mold at Brickhouse where we had eight of the same plate. The studio manager, who is an amazing handbuilder and brilliant at glazes, had said I could use his molds while he was on vacation, but I felt guilty borrowing those for my first attempt at plates. Of course, he actually came in while I was making these and told me again that I should use his molds (and, specifically, that these will likely warp in the kiln). So, my next set will certainly be with his molds. I just wish he were here to help me as I stumble ahead.

So, I set up my molds, made a lot of slabs and sprinkled corn starch over everything so they wouldn't stick. I then trimmed to the edge of the plates and kind of "banged" the plate on the table to get it to sink into the mold properly. I then cleaned up the edges to round them and added a hand-coiled foot on each. (I somehow forgot to take any photos of the bottom of the plate). I sprayed white slip on them so that the colors of the underglazes will turn out very bright after glazing. After they had all dried enough to carve, I carved this hand-drawn daisy-like flower into each one.

I took these photos after the plates had been "bisqued" as I was about to glaze them with clear glaze using the spray booth.


I thought anyone who actually reads this blog might like to see a little of the process, so the following are three photos of the spraying process for glazing.


One plate set on a kind of bat that has ball bearings that allow the two pieces to spin smoothly, creating a kind of hand-wheel. This makes it easier to apply glaze evenly in the round, though I found it wasn't all that helpful in applying glaze to plates, since they are so flat. The shelf is in the middle of the spray booth, suspended by molded ledges in the plastic hood.


This first photo shows the plate with glaze sprayed on it. You'll immediately note that clear glaze is not clear before firing, but rather thickly white.


The second photo shows the spray booth from slightly further away so that you can see the spray "gun" and the set up a little better. It's a little bit like an airbrush, but with glaze filled in the container. The idea of the booth, as my Office of Research Safety friends would tell you is that a large fan pulls air away from you through a filter to try to prevent you breathing the glaze. I also wear a proper face mask. The glazes are safe to eat on after firing, especially because the shiny part of the glaze encases anything you shouldn't eat, but the particulates would not necessarily be healthy to breath (e.g., copper, cobalt).

Monday, July 18, 2011

Tile "Quilt"


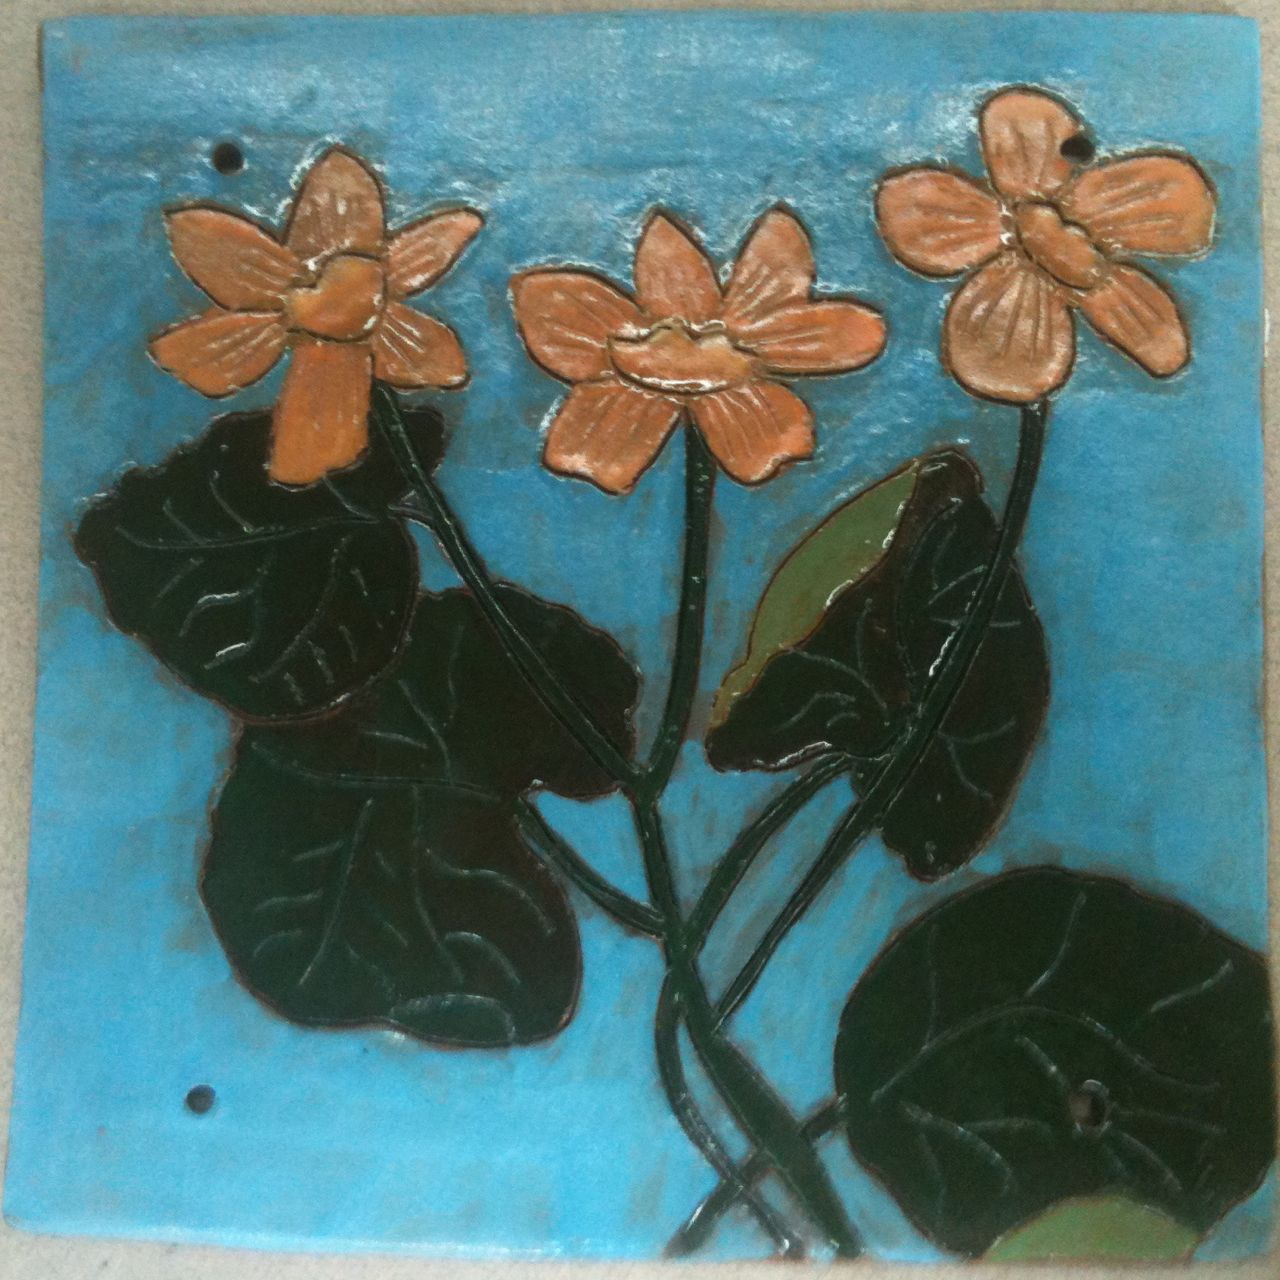
I made these tiles because I envisioned a "quilt" of ceramic tiles. Despite the constant reminder from my hand-building teacher, who wanted me to apply a white porcelain slip before carving and painting, I left them "clay" colored for painting. I really wanted them to look like clay pieces, not watercolors or cloth or anything else. I made the tiles large (8"x8") and very thin.

The idea was to have a 3x3 grid of tiles, tied together with leather shoelace-like string, and put in a slightly rustic "Arts and Crafts" like frame. After I made 11 tiles, the people at the studio looked through them and decided that this group "goes together." You can see the stack of other tiles in the top right corner of the photo in which I attempted to capture the layout (wow, the iPhone and I are not a good combination for good photos). My teacher came up with the idea that I stagger them, as seen in the last photo. I would place them in two rows, staggered, to create a 2x6 grid, or really a 2x12 grid, with every other space being blank.

I had several problems in my grand vision. First, the "sky blue" -- actually called turquoise by the underglaze manufacture -- burnt out a little bit in the kiln, leaving some obvious tile showing through, and some obvious brush strokes. Second, I applied a little heavily the green glaze that I used to make an underwater effect on the octopus and starfish. Third, I didn't apply the same glaze to the fish, which is problematic since it is also underwater.

I think I will do another project like this, making the tiles smaller (maybe 6"x6") and applying porcelain slip to the tiles. I also want to figure out how to spray the sky or water on before making the rest of the composition, or by applying wax to the rest of the composition, so that I avoid uneven brushstrokes.

These are horrible photos, so I don't think that anyone will see the success here. I think I will finish the composition with a frame and take a proper photo with a real camera because, honestly, there is a lot to love with these also.