Showing posts with label pottery. Show all posts

Thursday, September 8, 2011

It's Still Vacation at Brickhouse

I've been going in a little less frequently lately because Brickhouse is still on break, and I have to pay $5 every time I go. I know that's not much, but I'm also trying to look for a job, so I'm slightly busier. (I have to say that rewriting your resume for each job is necessary and annoying).

So, I went in yesterday to fix the twisty vase's bottom where I could see I'd created a hole. I think it's good now, thanks to advice from my teacher and a little care on my part. I patched it up by scraping away some of the already drying clay so that the shavings went into the hole and completing that with a tiny coil and some slip. I decided to even out all the edges that way so that only the center has the twisty pattern and it has a decent foot upon which to sit. It's wrapped in plastic again for slow drying. I may have to do more smoothing, since it may end up with plastic wrinkles. I'm hopeful this time, since the seam held fine. My teacher would like to see the whole thing a little smoother, also.

I glazed these two little plates to go under my planter pots a while ago, but they still haven't come out of the kiln.

two small glazed pot plates before glaze firing

The brownish-looking glaze will be a rich brown, called New Tyler Amber, and the splashes are a faux celadon glaze that, when placed over the New Tyler Amber, make a cool speckled effect of green with brown speckles. They match the pots, currently sitting on plates that don't match (the one in the front is sitting on a plain yellow plate and the one in the back is sitting on a white plate with black painted swirls). Also, the current plates are full-size dinner plates, while the pots have diameters of probably less than six inches. The bottom of the pots is the New Tyler Amber and the top is the faux celadon over New Tyler Amber.

two planter pots on mismatched plates with cat grass

I attempted to ensure that the bottom view of the side of the pot still has the dark New Tyler Amber showing, but that the splashes of faux celadon make clear that these plates are specific to these pots. They are also proportionately sized.

If anyone needs planters like this, let me know. These are fairly easy. I can make different colors, of course.

Saturday, August 27, 2011

Flower Plates


I decided to attempt to make hand-built plates using a mold. I can throw plates, and I'll try to take pictures and post the two that I've thrown so far too, but they are a little heavy and I'm not quite happy with that for everyday use. So, I took the first mold at Brickhouse where we had eight of the same plate. The studio manager, who is an amazing handbuilder and brilliant at glazes, had said I could use his molds while he was on vacation, but I felt guilty borrowing those for my first attempt at plates. Of course, he actually came in while I was making these and told me again that I should use his molds (and, specifically, that these will likely warp in the kiln). So, my next set will certainly be with his molds. I just wish he were here to help me as I stumble ahead.

So, I set up my molds, made a lot of slabs and sprinkled corn starch over everything so they wouldn't stick. I then trimmed to the edge of the plates and kind of "banged" the plate on the table to get it to sink into the mold properly. I then cleaned up the edges to round them and added a hand-coiled foot on each. (I somehow forgot to take any photos of the bottom of the plate). I sprayed white slip on them so that the colors of the underglazes will turn out very bright after glazing. After they had all dried enough to carve, I carved this hand-drawn daisy-like flower into each one.

I took these photos after the plates had been "bisqued" as I was about to glaze them with clear glaze using the spray booth.


I thought anyone who actually reads this blog might like to see a little of the process, so the following are three photos of the spraying process for glazing.


One plate set on a kind of bat that has ball bearings that allow the two pieces to spin smoothly, creating a kind of hand-wheel. This makes it easier to apply glaze evenly in the round, though I found it wasn't all that helpful in applying glaze to plates, since they are so flat. The shelf is in the middle of the spray booth, suspended by molded ledges in the plastic hood.


This first photo shows the plate with glaze sprayed on it. You'll immediately note that clear glaze is not clear before firing, but rather thickly white.


The second photo shows the spray booth from slightly further away so that you can see the spray "gun" and the set up a little better. It's a little bit like an airbrush, but with glaze filled in the container. The idea of the booth, as my Office of Research Safety friends would tell you is that a large fan pulls air away from you through a filter to try to prevent you breathing the glaze. I also wear a proper face mask. The glazes are safe to eat on after firing, especially because the shiny part of the glaze encases anything you shouldn't eat, but the particulates would not necessarily be healthy to breath (e.g., copper, cobalt).

Thursday, August 18, 2011

I Broke A Bowl to See My Progress

A few weeks ago, I threw this bowl (below) as part of my practice of "throwing off the hump." Throwing off the hump saves time in that you wedge a large piece of clay, rather than several smaller pieces, and you throw a succession of small pieces (e.g., bowls, mugs), cutting each off the large hump as you go. I looked around for a video on someone else's website to show what "throwing off the hump" is, but I couldn't find one that wasn't trying to sell something. So, if you want to see the technique, I suggest doing your own search and choosing one you like.

I've been throwing off the hump as a way to practice throwing many pieces one after the other that I then cut off and recycle. It's a useful technique for when I'm good enough to sell pieces, so that I can throw half a dozen bowls off one wedged piece of clay.

I kept this one sample to practice trimming, since I don't need a single rice bowl. As I said to my teacher, I either need eight of these or zero. So, after letting it dry enough to trim, I gave it a foot, which you can see in the right bottom of the photo. I can honestly say I'm very comfortable with my trimming skills. I think the feet that I give my pieces goes with their shapes and that I can mirror the inside of the form with the outside bottom well. It also lets me know that my pieces must be fairly well centered, or trimming them would be difficult.

However, what I did not realize is that "S" cracks are very common in throwing off the hump because you don't have the wheel or bat directly under the bottom of your piece to help with compression. I learned yesterday that I need to use a wooden tool to put the compression in after trimming. I must not have been paying attention the first lesson for trimming, because I hadn't even known to use something after trimming to push the grog back in for months, but since learning that, I've been using a soft rubber "kidney" because it makes such a lovely smoothness or a sharp metal kidney to give it nearly a burnish. It turns out that this isn't enough to compress the bottom. So, this bowl had a tiny crack in it after it finished drying.

Since I had never intended to fire it, my teacher helped me break it so that we could see my progress in evenness. Here it is:


As you can see, it is perfectly even. My joy upon seeing that was huge. I am progressing. This would have been a beautiful rice bowl.

Wednesday, August 3, 2011

Everyday Mugs -- Japanese Maple Leaf


These are my everyday mugs now. Well, kind of. Half of these are everyday mugs and half are too tall. I made them over two days and somehow measured the height incorrectly on half. So, three are perfect for everyday tea and three would be great if we liked big mugs of coffee. The ones we're using everyday are very comfortable and perfect for a big mug of milk-and-sugar tea. The one I like best is actually the least perfectly round. Still, I'm going to have to make at least a few more of the correct size.

The handles were very successful in comfort--wide enough to be supportive, no sharp edges, and the curlicue can be helpfully supportive also. The thickness is perfect for "mouth feel" so that you don't feel like it's a drippy cup. The tall ones are too heavy when full for me to like them, but are okay. The shorter ones are not too heavy.

Anyone who has read this blog at all will realize that I haven't posted every day recently. However, I have actually made three more mugs (shorter still with sneezeweed flowers in sgraffito) and glazed them too. I have also made eight dinner plates with sgraffito daisy-like flowers painted in eight different colors. Those are waiting for the kiln.

Further, I got better at registration in silkscreen, learning how to fine-tune by hand using mylar, so that I finished one more round of "Got Fish?" on paper. T-shirts to come.

I also threw slabs on the potter wheel. However, I threw all those back in to be recycled for various reasons. I will post on those reasons tomorrow.

Monday, July 18, 2011

Tile "Quilt"


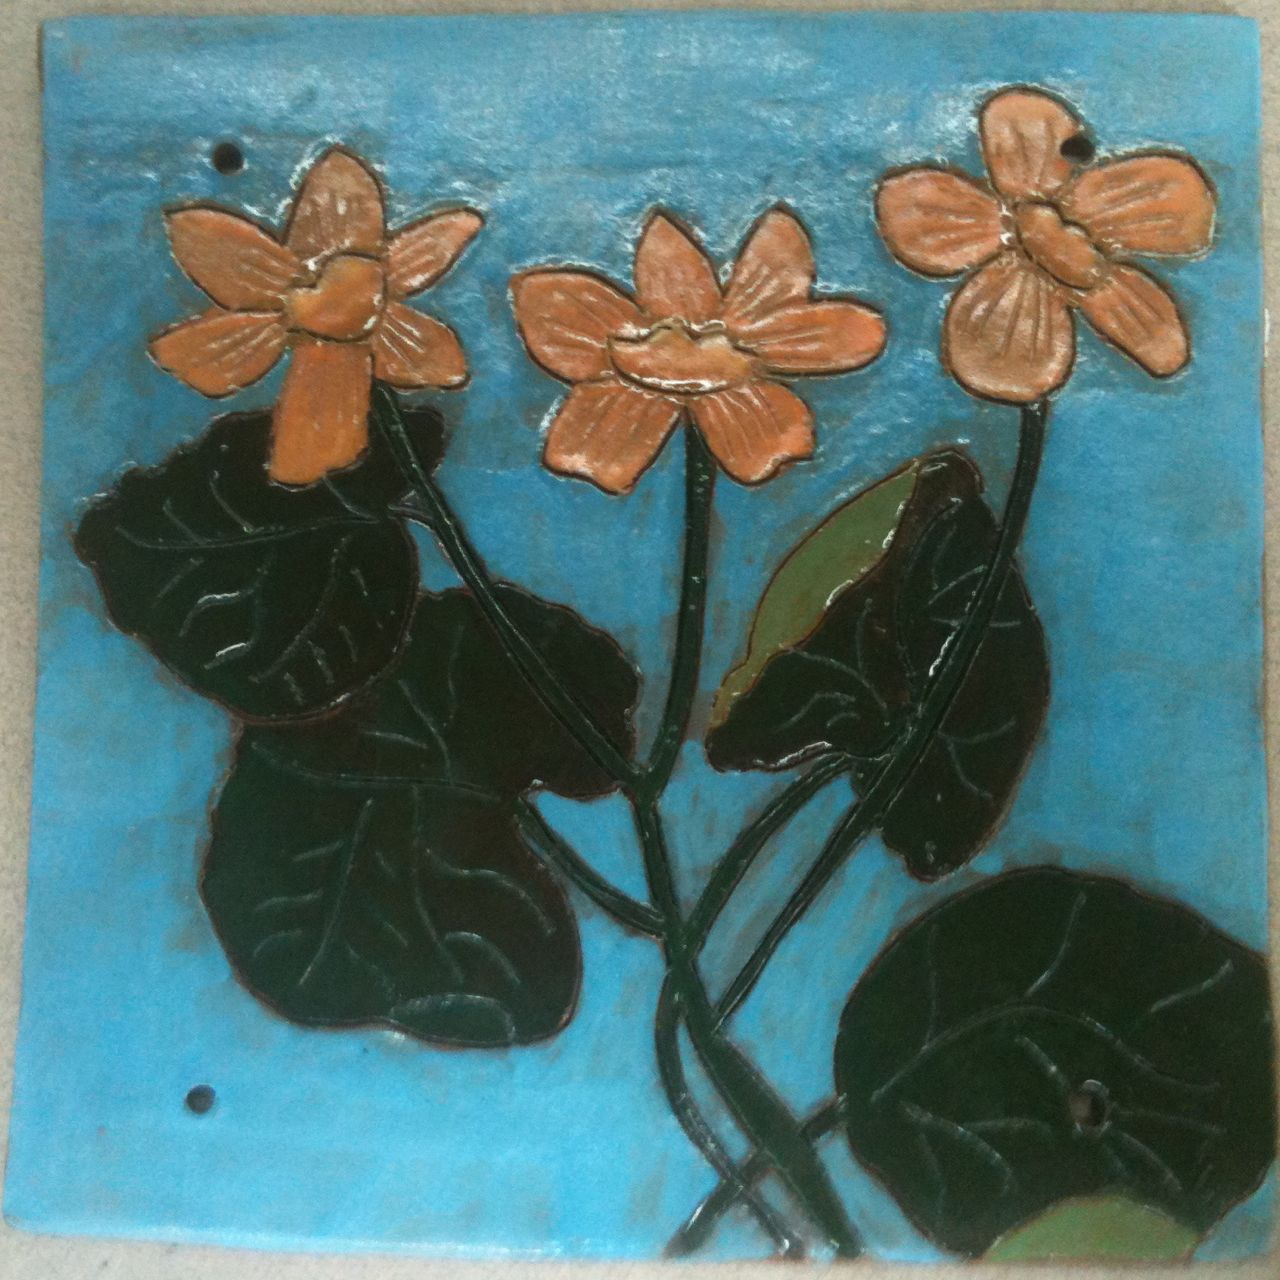
I made these tiles because I envisioned a "quilt" of ceramic tiles. Despite the constant reminder from my hand-building teacher, who wanted me to apply a white porcelain slip before carving and painting, I left them "clay" colored for painting. I really wanted them to look like clay pieces, not watercolors or cloth or anything else. I made the tiles large (8"x8") and very thin.

The idea was to have a 3x3 grid of tiles, tied together with leather shoelace-like string, and put in a slightly rustic "Arts and Crafts" like frame. After I made 11 tiles, the people at the studio looked through them and decided that this group "goes together." You can see the stack of other tiles in the top right corner of the photo in which I attempted to capture the layout (wow, the iPhone and I are not a good combination for good photos). My teacher came up with the idea that I stagger them, as seen in the last photo. I would place them in two rows, staggered, to create a 2x6 grid, or really a 2x12 grid, with every other space being blank.

I had several problems in my grand vision. First, the "sky blue" -- actually called turquoise by the underglaze manufacture -- burnt out a little bit in the kiln, leaving some obvious tile showing through, and some obvious brush strokes. Second, I applied a little heavily the green glaze that I used to make an underwater effect on the octopus and starfish. Third, I didn't apply the same glaze to the fish, which is problematic since it is also underwater.

I think I will do another project like this, making the tiles smaller (maybe 6"x6") and applying porcelain slip to the tiles. I also want to figure out how to spray the sky or water on before making the rest of the composition, or by applying wax to the rest of the composition, so that I avoid uneven brushstrokes.

These are horrible photos, so I don't think that anyone will see the success here. I think I will finish the composition with a frame and take a proper photo with a real camera because, honestly, there is a lot to love with these also.

Thursday, July 14, 2011

The Lamps Are Glazed


I began these lamps some time ago. I knew we needed lamps for our bedroom (we have one dented IKEA thing right now), so I figured I should make some. I knew I wanted to make slab-built pieces with an uneven number of sides (there are five, which you can't see because of my bad iPhone photo). So, I went to Brickhouse and made a model from cardboard -- actually, a Priority Mail box. It was a little too short at first, so I just cut it longer and then wrote on the cardboard how long that was. It was all a little off-the-cuff, so I was nervous. I sprayed them with porcelain slip to make them white.

Well, my teacher for hand-built work encouraged me to hand paint them, so I went home and came up with some floral ideas. I went back the next day and carved out each design with a pencil (really, a pencil), which will look darker since you will see some clay color where the lines are. Then, I hand painted the colors on with underglaze. Then, because I got a crazy idea (after painting the flowers) that a little blue behind would make a good sky background, I waxed over the flowers and sprayed a light-blue underglaze lightly all over the lamps.

So, today, they came out of the bisque kiln. In order to attempt to get the affect I want, I hand painted clear glaze on the flowers and then waxed them again, so that I could spray another mixture of clear and faux celadon glaze over the whole thing in the hopes that it will have an even more amazing "sky" look. They are waiting to go into the glaze kiln now.

Note: the one in the front has no glaze on the flowers yet, the one in the back has hand-painted clear glaze blocking the colors.

Thursday, July 7, 2011

Three More Mugs


Well, I made three more mugs, but they're currently too wet for carving. I remembered to take a photo so that it would still be an art for a day, but since they're under plastic, it ain't pretty.

I also decided, since the mugs-under-plastic photo wasn't all that great, to take a shot of the twisty vase waiting to go into the kiln.


At least you can see the coolness of its twists, though it is just fuzzy with future glaze.

Wednesday, July 6, 2011

Slab Mugs with Curlicue Handles and Japanese Maple Leaf

As usual, I went to Brickhouse after exercising (made it 1.5 hours today), and procrastinating significantly (still don't know why I'm prone to that, but, dang, I am prone to procrastinating).

I finished the three mugs I started earlier.


They haven't even been measured yet, so I'm about halfway, but the hardest halfway as far as the time and work commitment. Plus, I already figured out how I want to glaze them, thanks to an amazing guy.

I also glazed my twisty vase, though I forgot to take a photo, which is probably for the best since just glazed vases tend to just look "fuzzy." I had put it on a bottom shelf, too dark for iPhone, when I thought of it.

A great day, I must say. Tomorrow, I will make more mugs to match.